


To Brush or Not to Brush
- katherinetaber
- Oct 20, 2014
- 5 min read
To Brush or Not to Brush

There are so many ways to apply makeup these days; such as sponge wedges, q-tips, those foam applicators that come with the eye shadow kits, and most commonly, fingers. These all, with the exception of the foam sticks, have their place. However, if you truly want the most flawless application brushes are frequently where the answer lies.
Finding the just the right brush can be tricky. There are so many options and the price range is as broad as the Grand Cannon. You’ve probably heard that a good brush will last you a lifetime and this is true. Hell, mine have even survived a run in with a snow blower. Don’t ask.
So what makes a good brush? A good brush will feel well balanced in the hand (the weight shouldn’t all lay in the head). Pay attention to where the crimp is on the metal shaft. If the crimp is really high the hairs aren’t very long and are likely to fall out. The exception is if the crimp is high and then the metal shaft flairs out a bit. This shows the hair extends well beyond the crimp and is sturdy and durable. Even if the brush is a mini travel size you still want that metal part long even though the handle may be short. You will usually find this in a higher end brush that are worth the money. Take the time to really look at the brush. Do the bristles feel like they will stand up to a good cleanse? Will it be a multipurpose brush? Really pay attention to the durability because I once purchased a fan brush and it seemed nice enough but when I washed it the bristles frayed to the point where it became virtually unusable.
Another feature of a good brush is its versatility. A brush should never be a one hit wonder. Angle brushes, for example, work well for eyeliners, browliners, and even a clean lip application. A dense shadow brush should also double as a concealer brush, allowing for a dense application as well as blending the product into the perfect finish.
A frequent question is whether to go with natural (animal hair) or synthetic fibers. For quite a while I was a firm believer in natural hair brushes with the exception of foundation brushes. I felt they lasted longer and the application of pigment was more consistent. I have since changed my stand. Synthetic fibers have come a long way from what they were. Really good brushes, such as the three lines in the "it" Collections, are anti-microbial, shaped fantastically, and do not shed the way a lot of natural brushes do. Synthetic hair now allows for a very smooth application and allows for the use of less makeup.
Synthetic hair does not absorb your makeup allowing for you to get your money’s worth out of the product. They clean and shampoo fantastic. Though animal hair can allow product to go on beautifully (my favorite is a badger hair eye shadow brush) there is a hidden concern with them. Mold. I never thought about this factor before watching an educational video. Natural hair absorbs the moister well into the base which is normal however, natural fibers hang on to the moisture much longer allowing mold to form. Not only is the gross but the presence of this can cause acne and other sensitivities in the skin. I’m not saying toss your brushes out but when shampooing focus on how deep you submerge your brush and make sure you dry it well. And for heaven sake, DO NOT SWIRL OR SCRUB YOUR BRUSHES!!!!! Instead work them side to side using decent pressure while changing the angles.
A good brush should feel very soft to the touch. Never buy a brush you don’t get to feel first. Cheaper natural fiber brushes will lose their bristles fast making you replace them frequently, which you should never have to do. The worst brushes I have seen have come from a good company. Bare Minerals make some of the worst brushes I have ever used. When I am working in the store, women complain that each time they have to refill their product; they have to buy a new brush. Theses brushes are natural fiber and the base is super glued on. The first time I gave mine a good shampoo in warm to mildly hot water the top loosened from the base and then within days quickly fell off. Now, most people just use a spray cleanser to work the debris off the brush but it is truly necessary to shampoo your brushes every three weeks or so or you do run the risk of irritating the skin all the way from redness/sensitivity, dry patches, clogged pores, the makeup looking cakey, to awful breakouts. As an Esthetician I’ve viewed this and have seen what a good brush cleans can do.
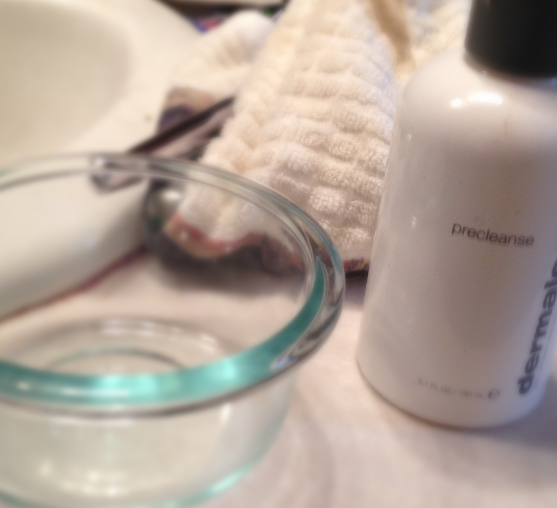
So now we come to the last point. How should we care for our brushes? A spray cleanser should be part of your routine. This will keep the tips of your bristles clean between shampoos. Shampooing can be a misnomer. If you use a very gentle face cleanser (not one for aging or acne) that would be an expectable choice; I try to avoid actual shampoos unless labeled as a brush shampoo. What I reach for every time is Dermalogica’s Precleanse. This product is something everyone should have in their skin care arsenal.
This product is totally unique in the skin care world. When we cleanse, we should be cleansing twice. Once to get rid of surface debris and the second to penetrate the pores and work out impurities, what makes people cringe is the fact that it starts out as oil. We have become an oil phobic society. Even people who think they have oily skin need a bit of oil especially, if they are on Acutane or Proactive. Precleanse is not exactly and oil. So let me fill you in on how it works step by step.
Massage precleanse into dry skin. This step allows the oil to bond with the oil and makup on the skin. (Think of how oil and water repels each other, the oil allows for the precleanse and the surface debris to bond)
This is where the product becomes different. With damp hands work water into skin. You will notice now that the precleanse turns into a milky color. What is happening is that the water triggers the precleanse to encapsulate the oil and debris.
After step two, you remove the precleanse with a dampened towel.
Feel your skin. You will notice that no oil remains and the skin may feel softer.
Apply your cleanser as usual.
For use on your face, I choose to put it on just before I jump in the shower so I can just take it right off when I get in.
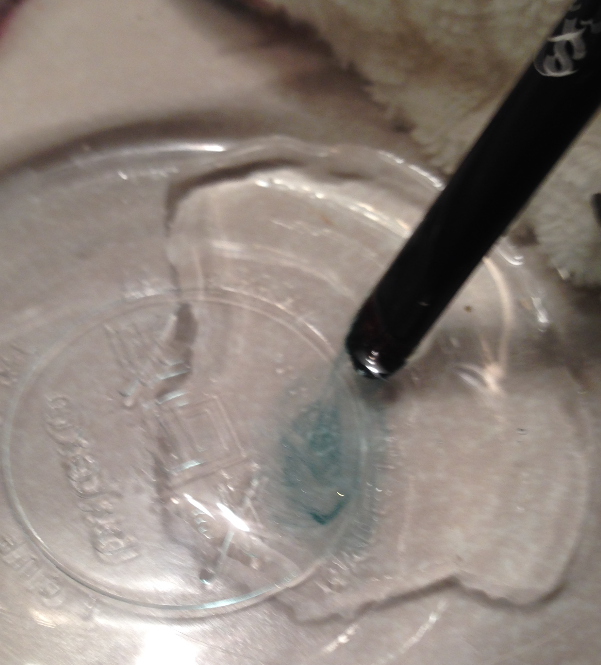
For cleansing shadow and concealer brushes I put the precleanse in a little dish and dip the brushes in, gently swirl them in the product and rinse under warm water until the water runs clear and not milky. For larger brushes I apply the precleanse directly to the brush, swirl, rinse, dry with back and forth strokes.


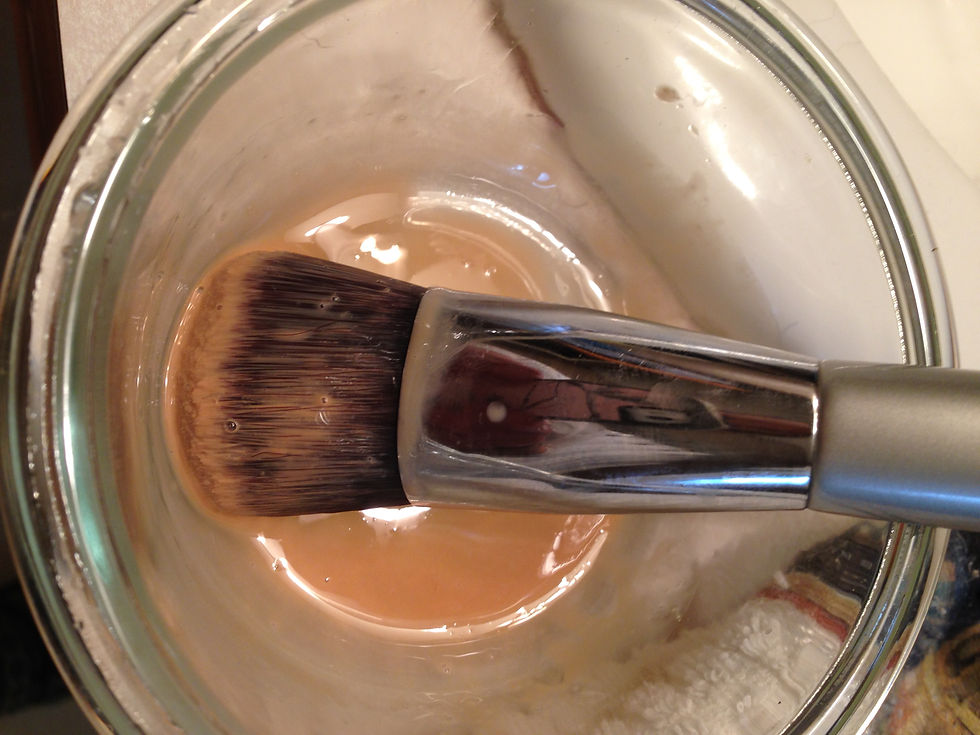

I have tried many other ways of cleansing but using Precleanse has been the fastest and most effective. It leaves the brushes shiny and conditioned. I know I have made the point before as to never rub them at that point still stands.
Choosing and caring for a good brush will always promise a perfect application of your makeup. You will use significantly less product and guarantee a perfect application whether you want a light look or full coverage. Feel free to ask questions. I would love to help you,


Comments